Move a trampoline without disassembling it by using rolling techniques, sliding methods, or recruiting several helpers to lift. Ensure the path is clear and employ tools like furniture sliders or plywood sheets.
Relocating a trampoline can seem like a cumbersome task, often thought to require disassembly and reassembly. Yet, with the right strategies and a little bit of know-how, this process doesn’t have to dismantle your day. Trampolines, while large and unwieldy, can be moved efficiently if you understand the proper techniques and safety measures involved.
In this introduction, we’ll unveil seven awesome techniques for shifting your bouncing haven from one spot to another seamlessly. These methods are designed to save you time and keep the structural integrity of your trampoline intact. Whether you’re repositioning it for mowing, optimizing yard space, or because you’re changing residences, these tips will ensure your trampoline remains jump-ready without the hassle of taking it apart.
The Challenge Of Moving A Trampoline Intact
Trampolines spark joy with every bounce but pose quite a puzzle when a move is due. Moving intact saves time and avoids losing pieces. It feels like a high-flying act, mixing fun with cautious task handling.
Why Keep The Trampoline Assembled
- Avoid lost or damaged parts: Keeping it whole means fewer worries about where each screw went.
- Quick setup at new location: Land, set, and jump into action—no assembly needed.
- Save time and effort: Bypass the teardown and rebuild processes completely.
Potential Risks To Consider
| Risk | Prevention Technique |
|---|---|
| Frame Damage | Move carefully and use soft padding. |
| Property Damage | Measure spaces and plan the path. |
| Injury | Get help, don’t tackle this solo. |
Moving a trampoline can be tricky, but keeping it assembled is a strategic move. Pay attention to the risks involved and employ safe moving techniques.

Credit: www.pinterest.com
Preparation Steps Before The Move
Welcome to the essential preparation steps before moving your trampoline! Whether you’re repositioning it in your backyard or taking it to a new location, a little planning goes a long way. These initial steps will ensure that the move is smooth, preventing damage to your trampoline and keeping you safe.
Checking The Trampoline’s Condition
Inspect your trampoline carefully before attempting to move it. Look for any tears in the jumping mat, weakened springs, or compromised frame integrity. Moving a damaged trampoline can worsen these issues, so it’s crucial to address any repairs beforehand.
Gathering Necessary Supplies
To move your trampoline successfully, you’ll need the right tools and materials. A list of supplies helps prevent delays and ensures you’re prepared. Here’s what you should gather:
- Work gloves for grip and to protect your hands
- Durable straps to secure the trampoline during the move
- A trolley or dolly to ease transportation
- Wrenches or pliers for any adjustments needed
- A group of helpers to assist with the heavy lifting
Technique 1: Roll It To The New Location
Moving a trampoline can be as simple as rolling it to your desired spot. This technique saves time and keeps your trampoline intact. No need for screws, tools, or disassembly. Just gather a few friends and follow these steps to roll your trampoline like a giant wheel to its new home.
Steps For Rolling Your Trampoline
- Clear the path: Make sure there are no obstacles in the way.
- Gather helpers: Rolling requires at least two people, so call some friends.
- Lift one side: Everyone should grab one side and tilt the trampoline onto its edge.
- Start rolling: Carefully roll it on its side like a wheel to the new location.
- Guide carefully: Steer clear of bumps and sharp turns.
- Rest when needed: Take breaks to ensure safety and prevent damage.
- Place it down: Gently tip the trampoline back onto its legs.
When Rolling Works Best
- Flat and smooth terrain.
- Short distances.
- Adequate manpower.
- No wind or bad weather.
Remember: Trampolines can be heavy. Always use proper lifting techniques. This method is a quick and safe way to move your trampoline without the hassle of taking it apart.
Technique 2: Slider Method
Ready for a smooth move? Try Technique 2: the Slider Method. This clever trick turns your trampoline moving task into a quick slide across the yard. No need to dismantle; just slide and glide!
Making Use Of Furniture Sliders
Here’s how to make the slider magic happen:
- Grab a set of furniture sliders.
- Place a slider under each leg of the trampoline.
- Ensure sliders face the smooth edge outwards.
- Teamwork is key – get at least one helper.
- Each person grabs a trampoline leg.
- Coordinate and push gently but firmly.
- Watch your trampoline glide effortlessly!
Surface Requirements For Sliding
Make sure the surface is a good match for sliding:
| Surface Type | Is Sliding Suitable? |
|---|---|
| Grass | Yes |
| Smooth Pavement | Yes |
| Carpet | No |
| Gravel | No |
Remember to clear obstacles and choose dry weather for best results. Now slide away and reposition your trampoline with ease using the Slider Method.
Technique 3: Walk The Trampoline
Moving a trampoline without disassembly can seem like a huge task. But with the right technique, it’s possible. Technique 3 involves a method known as ‘Walk the Trampoline’. This unique strategy uses teamwork and careful coordination to move the trampoline over short distances. It’s perfect when you need to relocate your trampoline within your yard or to a nearby spot without the hassle of taking it apart.
Coordinating The Walk
Before beginning, ensure all participants understand their roles. Here’s what to do:
- Gather helpers: Recruit at least four people, one for each side.
- Position everyone: Stand equidistant along the trampoline’s frame.
- Lift together: Count down and lift the trampoline slightly off the ground.
- Walk in sync: Step in unison to the designated new spot.
- Communication: Keep talking to maintain rhythm and coordination.
Using this technique, the trampoline ‘walks’ to its new location, with everyone moving at the same pace. This approach prevents strain and ensures effective transportation.
Safety Precautions
Safety should always be the top priority. Follow these tips:
- Wear gloves: Protect hands from pinching and provide a better grip.
- Check the path: Remove obstacles to avoid trips or drops.
- Communicate hazards: Shout out any issues immediately.
- Avoid windy days: Wind can unbalance the trampoline.
- Plan breaks: Set spots to rest if moving over a longer distance.
Take these steps seriously to keep everyone involved safe and injury-free. Walking the trampoline, when done properly, makes relocating your outdoor fun simple and efficient.
Credit: www.springfreetrampoline.com
Technique 4: Flip And Drag
Moving your trampoline doesn’t always mean a full disassembly. Technique 4: Flip and Drag offers a straightforward approach. Let’s explore how this technique saves time and effort.
How To Flip For Easy Dragging
The goal is to flip your trampoline on its side. Doing so reduces its width. This makes it simple to move through gates or between tight spaces. Follow these steps:
- Clear all objects around the trampoline.
- Gather a few strong friends for help.
- Stand on one side of the trampoline.
- Hold the frame with both hands.
- Lift gently and flip it on its side.
Once on its side, it resembles a giant wheel. This shape is perfect for rolling or dragging.
Protecting Your Trampoline And Lawn
Dragging your trampoline can damage the legs or your yard. Use these tips to protect both:
- Wrap the legs with padding.
- Use a tarp or old rug beneath it.
- Drag over soft surfaces like grass.
- Avoid sharp turns to prevent leg bending.
Such care keeps your trampoline and lawn safe. Following these precautions extends the life of your yard’s fun centerpiece. Ready for an easy move? Flip and drag to the rescue!
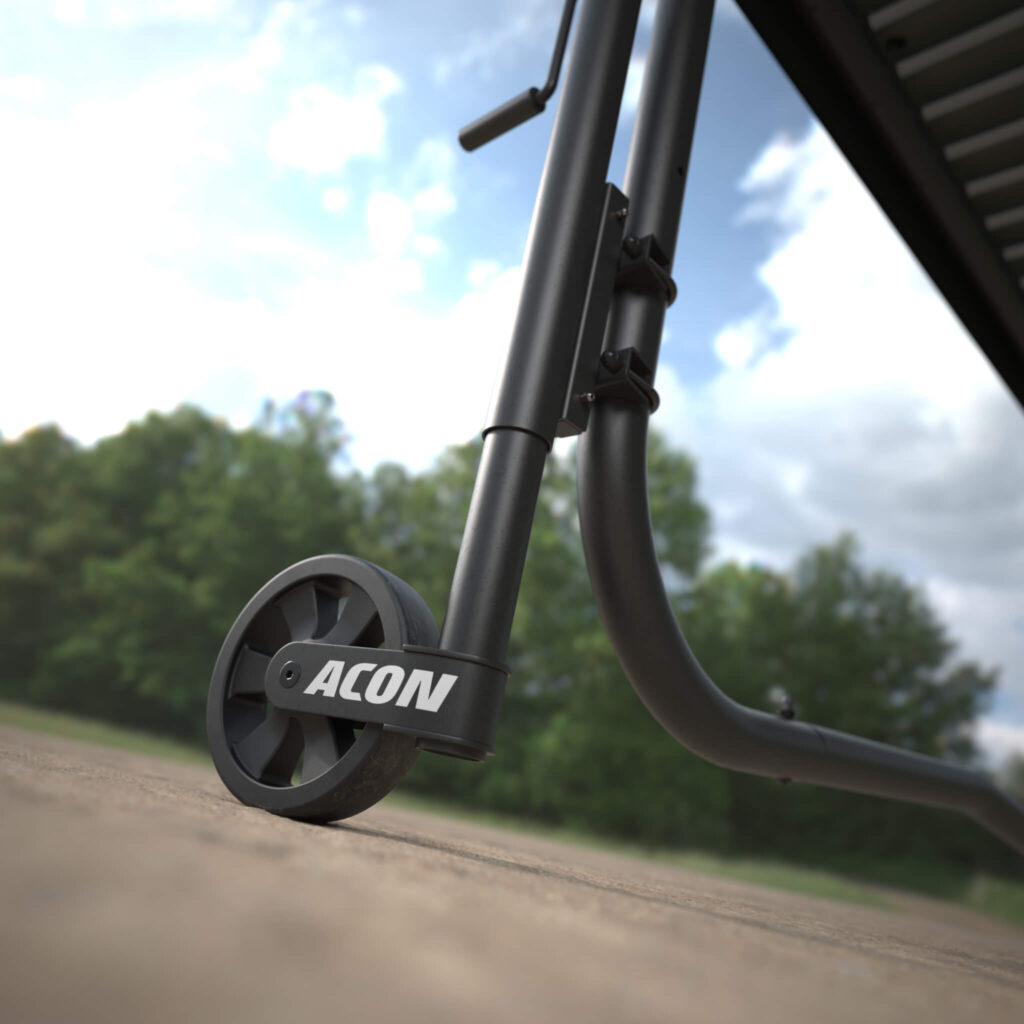
Technique 5: Dolly Or Hand Truck Assistance
Get ready to discover Technique 5: Dolly or Hand Truck Assistance for moving your trampoline. This smart approach saves time and effort. We’ll guide you through selecting the best equipment to safely transfer your trampoline to its new location.
Choosing The Right Equipment
Finding the perfect dolly or hand truck is key. You need one that can handle your trampoline’s weight and size. Here are some tips:
- Assess the weight of your trampoline. Choose a dolly that can support it.
- Check the dolly’s wheels. Large, pneumatic tires make moving easier.
- Ensure the base is wide enough for your trampoline’s frame.
Proper Loading And Moving
Now, let’s talk about loading your trampoline onto the dolly:
- Place the dolly near the trampoline’s edge.
- Lift the edge of the trampoline onto the dolly.
- Ensure the trampoline is balanced and secure.
Here’s how to move it safely:
- Take it slow. Rushing might make it tip over.
- Steer clear of obstacles.
- For slopes, have a helper to control the descent.
Technique 6: Disassembly Of Legs Only
Exploring Technique 6: Disassembly of Legs Only could be a game-changer for moving a trampoline. This method strikes a balance between effort and convenience.
Simplifying The Process
Removing only the legs of a trampoline simplifies the shifting process. Follow these steps:
- Clear the area around the trampoline.
- Secure the jumping mat and netting.
- Unscrew the legs using the appropriate tools.
Keep the screws organized in a bag. This prevents loss of parts.
Reattaching The Legs After Moving
Once the trampoline reaches its new location, reattach the legs with these steps:
- Place the trampoline frame on its side.
- Align the legs with the frame holes.
- Secure each leg using the previously removed screws.
Ensure all legs are tight and stable before use.
Technique 7: Enlist Professional Movers
Moving a trampoline can be tricky. Sometimes, the smartest move is to call in the pros. Let’s dive into how hiring professional movers might just be the stress-free solution you need. Our last technique in this guide to moving trampolines spotlights the benefits of expert help.
When To Consider Professional Help
Deciding when to call professionals shouldn’t be tough. Think about these key points:
- Size: If your trampoline is extra-large, professionals are your best bet.
- Distance: Going far? Pros can move it quickly and safely over long distances.
- Your Health: If your back says “no,” let the experts take over.
- Time: Short on it? Movers can save the day with quick turnaround.
What To Look For In A Moving Service
Select a moving service that ticks the following boxes:
- Experience: Seek movers who have handled trampoline moves before.
- Insurance: Ensure they offer coverage for damages during the move.
- Reviews: Happy customers? Good sign they handle goods with care.
- Cost: Get clear, upfront pricing to avoid surprise charges.
- Equipment: They should have the right tools for secure transport.
After The Move: Setup And Safety Check
Welcome to the final phase of the trampoline moving process—After the Move: Setup and Safety Check. You’ve managed to transport your trampoline to its new home without dismantling it. Great job! Now comes the critical part: making sure it’s ready for action.
Securing The Trampoline At The New Location
- Choose a level spot: Your trampoline needs even ground.
- Clear the area: Remove any hazards around it.
- Use anchors: Secure your trampoline against wind.
- Check frame placement: Ensure the frame sits flat.
Anchor kits are vital in preventing your trampoline from flipping or moving. It’s a small investment for safety. Make sure you have the tools for installation. Ground stakes should dive deep to offer stability.
Performing A Thorough Safety Inspection
| Part | Check for |
|---|---|
| Mat | Tears or fraying |
| Springs | Stretching or rust |
| Frame | Bends or breaks |
| Net | Holes or detachments |
| Pads | Wear or improper fit |
Begin with the mat. Check that it’s intact and strong. Move on to springs — they must be rightly hooked. Examine the frame; it should show no signs of damage. The net needs to be hole-free and firmly attached. Lastly, ensure pads cover springs and frame edges correctly.
Only when each part passes the safety check is the trampoline ready for fun. Regular checks maintain safety for everyone.

Credit: www.alliancemoving.com
Frequently Asked Questions On How To Move A Trampoline Without Taking It Apart: 7 Awesome Techniques!
Can You Move A Trampoline Without Disassembly?
Yes, you can move a trampoline without taking it apart. Certain techniques allow for safe and efficient relocation. For example, sliding it over the grass, lifting it with friends, or using moving equipment are effective strategies.
What Methods Exist To Move A Trampoline Easily?
There are multiple methods to move a trampoline, including the flip-and-drag technique, using furniture sliders, rolling it on PVC pipes, and employing a dolly or wheel system. Each technique requires precaution to avoid damage or injury.
How Do I Prepare My Trampoline For Moving?
Before moving your trampoline, ensure it’s clean and dry. Remove any anchors or weights, separate the safety net if applicable, and secure any loose parts. Proper preparation ensures a smoother and safer move.
Is It Possible To Relocate A Large Trampoline By Myself?
Relocating a large trampoline by yourself is not recommended due to its size and weight. It’s safer and more practical to enlist the help of several friends or hire professional movers to prevent injury and damage to the trampoline.
Conclusion
Moving a trampoline can be a breeze with the right technique. Whether you choose the flip method, wheel kits, or sliding tactics, your backyard fun doesn’t need to be disrupted. Employ these seven methods to save time and avoid disassembly headaches.
Now, go ahead and relocate your trampoline with confidence!