Disassembling a trampoline involves six key steps: removing the springs, detaching the mat, dismantling the frame, taking apart the poles, if applicable, and storing all pieces properly. Begin by ensuring you have the necessary tools and safety equipment.
Trampolines are a hub of boundless joy and energetic activity, providing families and fitness enthusiasts with a playful yet potent workout platform. But when the seasons change or you need more space in your backyard, knowing how to meticulously take apart your trampoline becomes essential.
This task may seem daunting, but with the right guidance, it is straightforward and manageable. Furthermore, proper disassembly is crucial for maintaining the trampoline’s integrity and ensuring a trouble-free reassembling process. Let our concise guide make this task as smooth as a well-executed somersault.

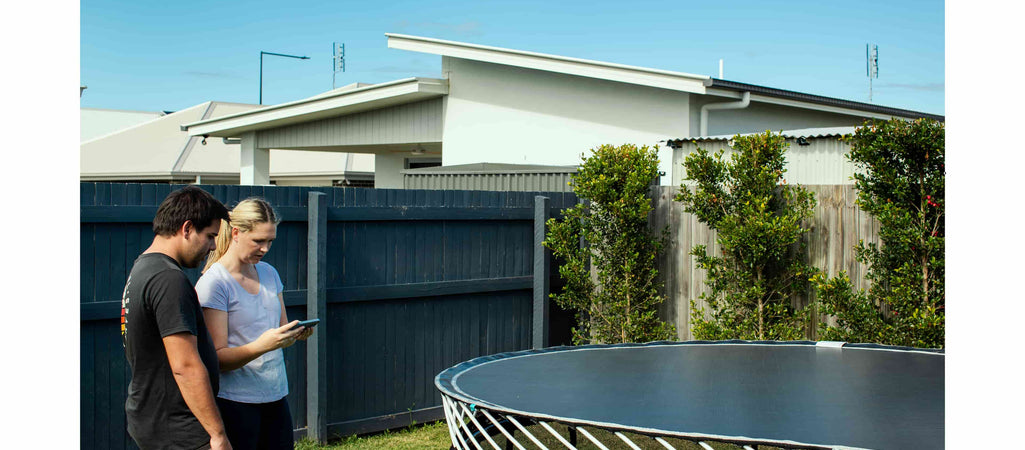
Credit: www.springfreetrampoline.com
Safety First: Preparing To Disassemble Your Trampoline
Before taking apart your trampoline, safety takes top priority. A secure disassembly process prevents injuries and damages. Follow these key steps to start off on the right foot.
Choosing The Right Location
Ensure the area around the trampoline is clear of obstacles. Confirm there’s ample space to lay out parts. Look for a flat surface to avoid trampoline movement.
Gathering Necessary Tools
You will need several tools to break down your trampoline:
- Spring puller or pliers: For removing springs.
- Wrench or socket set: To undo bolts and nuts.
- Screwdriver: For any screws present.
- Gloves: Additional protection for your hands.
Wearing Appropriate Safety Gear
Protect yourself with the right gear. Durable gloves shield your hands. Wear sturdy shoes to protect your feet from heavy components. Consider safety glasses to shield your eyes from potential spring snaps.

Credit: trampolinesireland.com
Step-by-step Guide: Taking Apart The Frame
Disassembling a trampoline can seem daunting. Yet, it’s a breeze with the right steps. Whether you’re preparing for a move, making space, or putting your trampoline away for the season, taking the frame apart is crucial. Below is a foolproof guide to help you dismantle the trampoline frame without a hitch.
Removing The Springs Carefully
Begin by removing the trampoline’s springs. This process protects both you and your trampoline.
- Wear gloves to protect your hands.
- Use a spring pull tool or a flathead screwdriver.
- Start at one spring, insert the tool, and unhook it from the frame.
- Work your way around, alternating sides to keep the tension even.
Detaching The Frame Sections
With all springs removed, detach the frame sections next.
- Unscrew or unpin where the sections connect.
- Have a partner help with larger frames.
- Take apart one section at a time.
- Remove legs and other protruding parts largely.
Organizing Frame Pieces For Storage
Organize all parts to make future assembly straightforward.
| Part | Action |
|---|---|
| Frame Sections | Stack neatly or place in a storage bag. |
| Screws/Bolts | Keep in a labeled bag or container. |
| Legs | Group together, can be tied for compact storage. |
Handling The Trampoline Mat And Springs
Taking apart a trampoline needs care, especially with the mat and springs. These parts demand a specific method. This ensures safety and keeps them in good condition for future use. Follow these steps for a smooth process.
Cleaning The Mat Before Storage
Clean your trampoline mat before putting it away. Dirt affects its condition. Here’s a simple way to clean it:
- Sweep off loose debris with a soft broom.
- Use mild soap and water to wipe the surface.
- Rinse with a garden hose, avoiding high pressure.
- Let the mat dry completely to prevent mold.
Proper Technique For Spring Removal
Removing springs correctly avoids injury and damage. Use a spring puller tool or a T-hook. No tools? Use this technique:
- Wear gloves for grip.
- Press down on the mat near a spring.
- Grasp the hook and pull towards you.
- Repeat for each spring, working in sections.
Storing The Mat And Springs
After cleaning and spring removal, store the parts right. This keeps them safe and ready. Follow these tips:
| Part | Storage Tips |
|---|---|
| Mat | Fold neatly. Store in a cool, dry place. |
| Springs | Place in a bag or box. Avoid moisture and dirt. |

Credit: m.youtube.com
Dismantling The Safety Net And Poles
Let’s take a turn towards dismantling the safety net and poles on your trampoline. This part is crucial for keeping jumpers safe. Now, it’s time to carefully take those components apart. These steps can help minimize damage and keep your trampoline’s parts organized.
Detaching The Safety Net
- Unhook the top netting. Start at one corner and unclip the net from the enclosure poles.
- Work your way around. Move clockwise or counter-clockwise to maintain consistency.
- Keep track of the clips. Place them in a bag to prevent loss.
Breaking Down The Enclosure Poles
- Remove pole caps. Twist and pull caps from each enclosure pole.
- Slide down foam sleeves. Carefully slide the foam protectors off the poles.
- Dismantle the poles. Most poles are in sections, so disassemble them piece by piece.
Packing The Net And Poles Safely
Fold the net neatly for compacted storage. Roll the foam protectors. Bundle the poles together. Store everything in a dry, clean place. This ensures easy reassembly later and prolongs their life.
Packing And Storing Your Trampoline Components
Packing and storing your trampoline properly ensures it stays clean and safe. Follow these steps to maintain your trampoline’s condition during the off-season.
Choosing The Right Storage Containers
Select containers that safeguard trampoline parts from damage.
- Solid, durable boxes or bins for metal frameworks.
- Climate-resistant containers for mats and springs.
- Stackable options to maximize space.
Best Practices For Labeling Parts
Effective labeling keeps trampoline parts organized.
- Use permanent markers for clarity.
- Tag each part by name and quantity.
- Attach labels to the exterior of containers.
Preventing Moisture And Pest Damage
Moisture and pests can ruin trampoline components. Prevent this with:
| Issue | Prevention Tip |
|---|---|
| Moisture | Use silica gel packets and airtight containers. |
| Pests | Store in elevated, sealed containers away from walls. |
Tips For Smooth Reassembly
After a fun season of bouncing, disassembling your trampoline can feel tedious. But with a few smart moves, you can set yourself up for an effortless reassembly when it’s time to put the trampoline back into action. Let’s explore some essential tips that will make the process smoother and less time-consuming.
Documenting The Disassembly Process
- Take photos or a video of each step as you take apart the trampoline.
- Use these visuals to guide you during reassembly.
- Label parts if necessary using stickers or tape.
- Create a step-by-step guide by jotting down notes.
Organizing Small Parts And Hardware
Small parts are easy to lose and can turn reassembly into a puzzle. Keeping everything organized is key:
| Part | Storage Method |
|---|---|
| Springs | Bag and label by size |
| Bolts and Nuts | Use clear jars or bags |
| Poles and Frames | Group together and bind |
Regular Maintenance For Easier Reassembly
- Clean parts before storage to prevent rust and wear.
- Check for damage and replace worn parts before storing.
- Apply lubricant on screws and bolts for easy removal next time.
- Ensure storage area is dry to avoid damage.
By following these steps, you will ensure that your trampoline is ready for action as soon as you are.
Frequently Asked Questions Of How To Disassemble A Trampoline: 6 Steps Of Trampoline Disassembling!
What Tools Do I Need To Disassemble A Trampoline?
To disassemble a trampoline, you typically need a Phillips head screwdriver, a spring puller tool, and a rubber mallet. These tools help to unscrew bolts, safely remove springs, and dismantle the frame.
Can Disassembling A Trampoline Be A One-person Job?
While it’s possible for one person to disassemble a trampoline, it’s recommended to have at least two people. This ensures safety and efficiency. One person can hold parts steady while the other unscrews and removes them.
How Long Does It Take To Disassemble A Trampoline?
The time it takes can vary, but on average, disassembling a trampoline can take about 1 to 2 hours. Experienced individuals or teams may complete it faster with organized and synchronized efforts.
Is It Necessary To Disassemble A Trampoline For Winter?
Yes, disassembling a trampoline for winter is advised. It protects it from harsh weather, prolongs its lifespan, and maintains safety standards. Storing the parts in a dry, secure place is recommended.
Conclusion
Dismantling your trampoline may seem daunting, but following these six steps simplifies the process. Your safety and the trampoline’s integrity remain intact if you’re methodical. Remember to organize the parts as you go; it ensures a hassle-free reassembly. Now you’re equipped to store or move your trampoline effortlessly.
Happy disassembling!


